Your HP printer will not function without a properly filled ink cartridge. You need to keep checking the ink levels in your HP printer periodically and replace them whenever required. However, you need not worry if you don’t know how to replace ink cartridge HP printer. Here we have come up with a perfect stepwise guide for you.
How to Check Ink Levels in HP Printer?
First of all, you have to check the ink levels in your HP printer. You will need to replace the ink cartridge only when it is empty or low on ink. So, to check if your HP printer is running out of ink, you can follow the given steps.
- Tap on the Start menu
- Search for Devices and Printers and click on it
- You will now see the printers connected to your device
- Select your printer whose ink level you want to check
- Head to the bottom of the devices and printers tab, and you will find the ink levels under the status area.
Alternatively, for your Android or Apple devices, you can use the HP Smart app to check the ink levels. If the ink cartridge is empty, proceed further to know how to put ink cartridge in HP printer.
How to Put Ink in HP Printer DeskJet 2600?
Replacing an ink cartridge or putting in your HP DeskJet 2600 printer is easy if you are aware of the right procedure. You can go ahead with the given stepwise instructions to replace your ink cartridge.
Load the Paper
- To load the paper, lift the input tray of your HP DeskJet 2600 printer
- Slide the paper width guide and then put a stack of paper into the input tray
- Then, adjust the paper width guide appropriately
- After this, you need to lower the output tray
- Now, pull the tray extender, and it’s done!
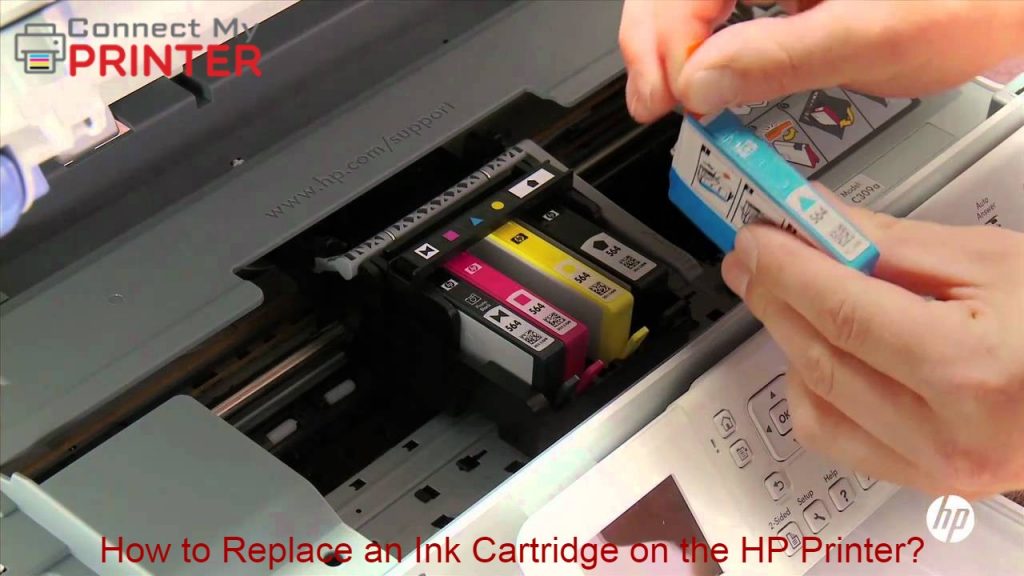
Replace the Ink Cartridge
- Turn on your HP DeskJet 2600 printer and lower the output tray
- Next, lower the ink cartridge access door and wait till the carriage moves to the center
- Once your HP Printer is idle, press on the ink cartridge and release it
- After this, you have to pull the ink cartridges out of their respective slots.
- Now, bring out the new ink cartridge from the box and remove the plastic tape carefully
- Ensure not to touch the ink nozzles to avoid ink failure
- Then, grasp the ink cartridge from its sides
- The contacts should be toward the printer
- Install the ink cartridge into the correct slot
- Now, push the ink cartridge until it fits in its place
- Make sure to insert the black ink cartridge on the right while the color cartridge on the left
- Once you install other ink cartridges, too, close the access door.
Align the Ink Cartridge
You should align the ink cartridges correctly if you want the best printing quality results.
- After installing ink cartridges, your printer will print the alignment page automatically.
- You have to lift the scanner lid and put the alignment page on the scanner glass
- After this, shut the scanner lid
- Click on the Start Copy Black button or Start Copy Color option that you can find on the printer’s control panel
So, this was your guide to replace your ink cartridge in HP DeskJet 2600 printer. Furthermore, if you want to know how to change cartridge in HP Laserjet printer, you can follow the same steps mentioned above.