
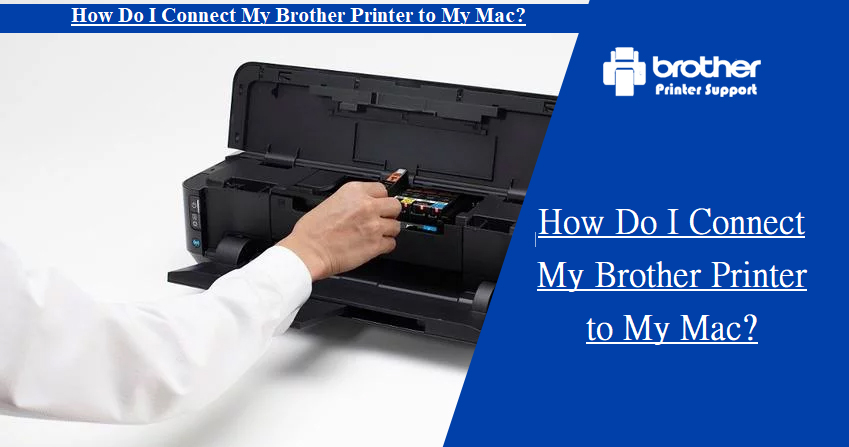
Brother Printer is a well-known product that specializes in several hardware devices. The latest version of the printer might vary as per their size and configuration. If you are a Mac user and have recently bought a Brother Printer, you should know about the steps to connect them to use the printer smoothly.
If you don’t have any clue related to how to connect Brother Printer to Mac, then don’t worry; we are here to guide you. In this blog, you will know the step-by-step process to perform the connection procedure.
How to Connect Brother Printer to WiFi Mac?
Now, let’s check out the step-by-step procedure to know how to connect Brother Printer to WiFi Mac device smoothly:
- Firstly, start by connecting the computer and printer with a USB cable.
- You have to press and hold the Wi-Fi button.
- With this, the indicator will start flickering.
- Start the printer setting tool from your computer.
- Tap to the “communication settings” button.
- Select wireless LAN option for selected interface and infrastructure for communication mode under the general tab.
- Enter the SSID and password.
- Lastly, tap to apply.
Follow these steps to connect the Brother Printer to the Mac device smoothly. It is advisable to follow the steps correctly so that you can successfully connect the printer and Mac device without any issues.
Also Read – How Guide to Connect Canon MG2522 Printer to WiFi
How to Connect Brother Printer to WiFi Mac Wirelessly?
In this section, you will know about the steps for connecting Brother Printer to WiFi on Mac device. Follow these steps properly to perform the connection procedure successfully.
- Firstly, note the SSID (service set identifier) and password of the network.
- From the display of the printer, tap on the menu or settings option.
- Choose the wireless network option.
- With this, the Brother Printer will search for the nearby networks, and a list of networks will be displayed.
- Choose the network that you want to use.
- Enter the password for the network and tap OK.
- With this, the printer should establish a wireless network and should connect to Mac.
- Insert the setup CD into the Mac device or download the printer driver from the Brother Printer official website.
- To smoothly install the printer driver, it is essential to follow the on-screen instructions or tap to download the file and follow the on-screen instructions.
- Now, restart your printer and see whether the printer driver is installed successfully or not.
- Choose print and scanners, print & fax, and scan. Tap on add.
- From the default list dropdown option, find and highlight the printer name and tap to add.
- With this, the Brother printer will be added to the Mac device.
- Lastly, tap on quit system preference to end the setup process.
Check out the steps mentioned above and follow them properly to get answers for your query related to how to connect to Brother Printer with Mac device.
Bottom Line
We have covered all the useful information to give answers to your query about how to add Brother Printer to Mac. You can read it carefully and use it to connect your Mac device to a Brother Printer. Apart from this, if you have any other query like printer not connecting to Mac or steps to connect Brother Printer to Wi-Fi, then it is advisable to check out the user manual. With the printer, you will get the user manual, and from the manual, you can get the solutions to all your queries that you might encounter.
Some Related Stories To Read:
Brother Printer Won’t Scan to Computer